 Nemeton
Two axes, step by step
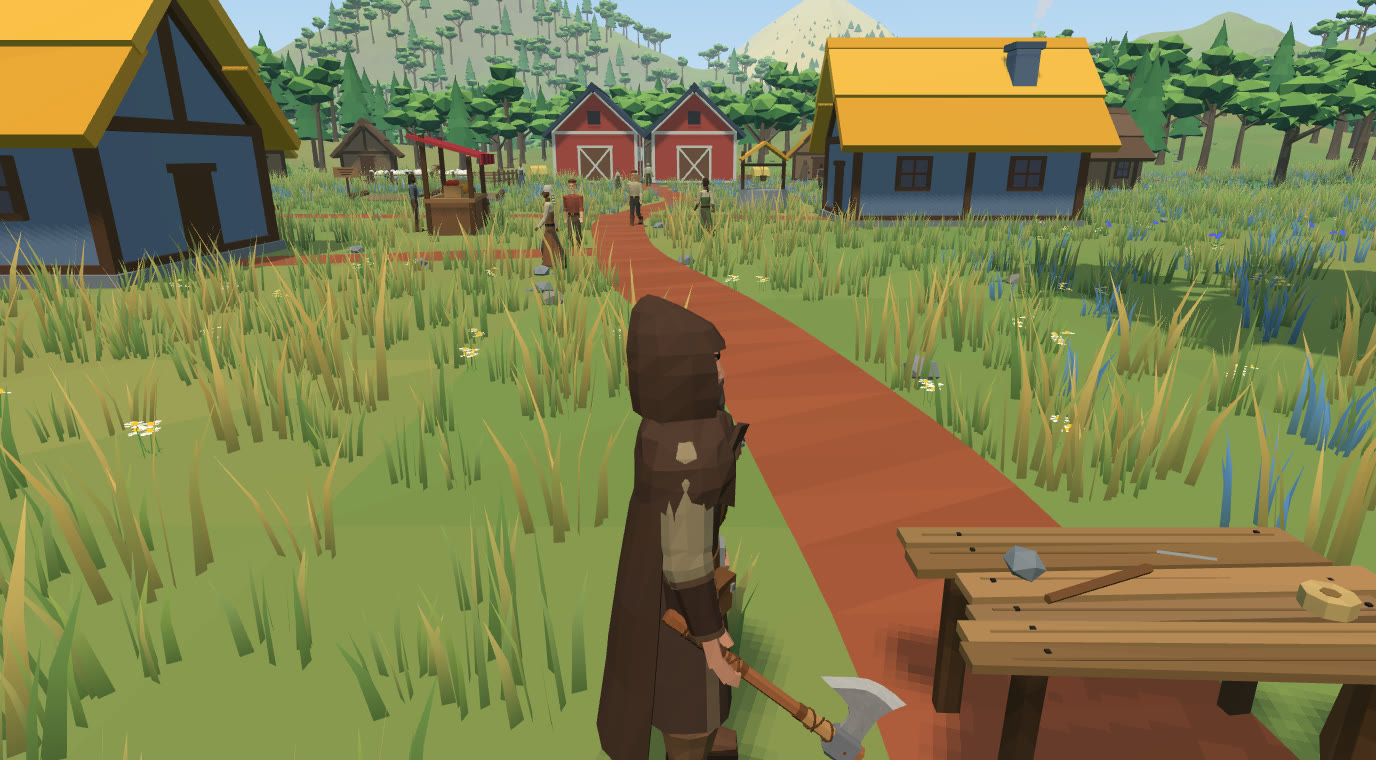
Every model in the game is made by code: no 3D files and no modelling program, only numbers for points, colours and bends. This time the goal was to match a painted sheet of tools (a spear, an axe, a hammer and a bow) as closely as we could. We started with the axe. Every step below was rendered in a small studio built into the game (lowpoly --preview shot.png --pose axe) and shown before anything went into the game.
The iron axe
First try. We read the shapes off the sheet: an iron head with a block poll and a bearded blade, a long handle with leather wraps and a flared foot. The blade is a curved patch stretched between its four outlines: thick at the eye, thin towards the edge, with a bright bevel along the cutting edge. Each panel shows a different angle: the side, three quarters, the back and a close-up.
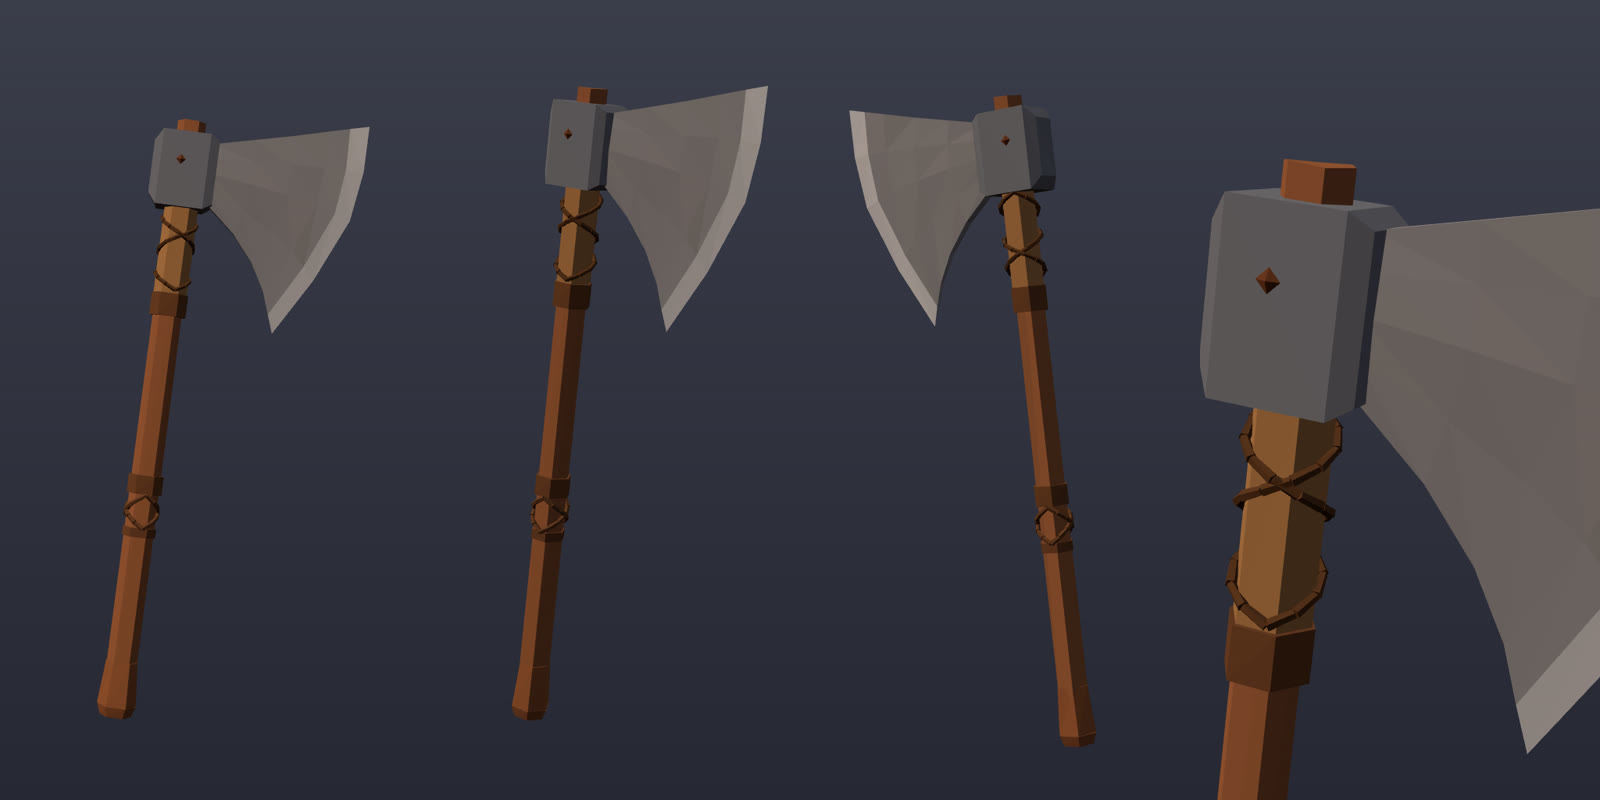
A thicker handle. Compared with the sheet, the handle was too thin and the poll too narrow. The lacing also looked like wire, so it became flat leather straps, and the sleeve under the head became lighter leather.
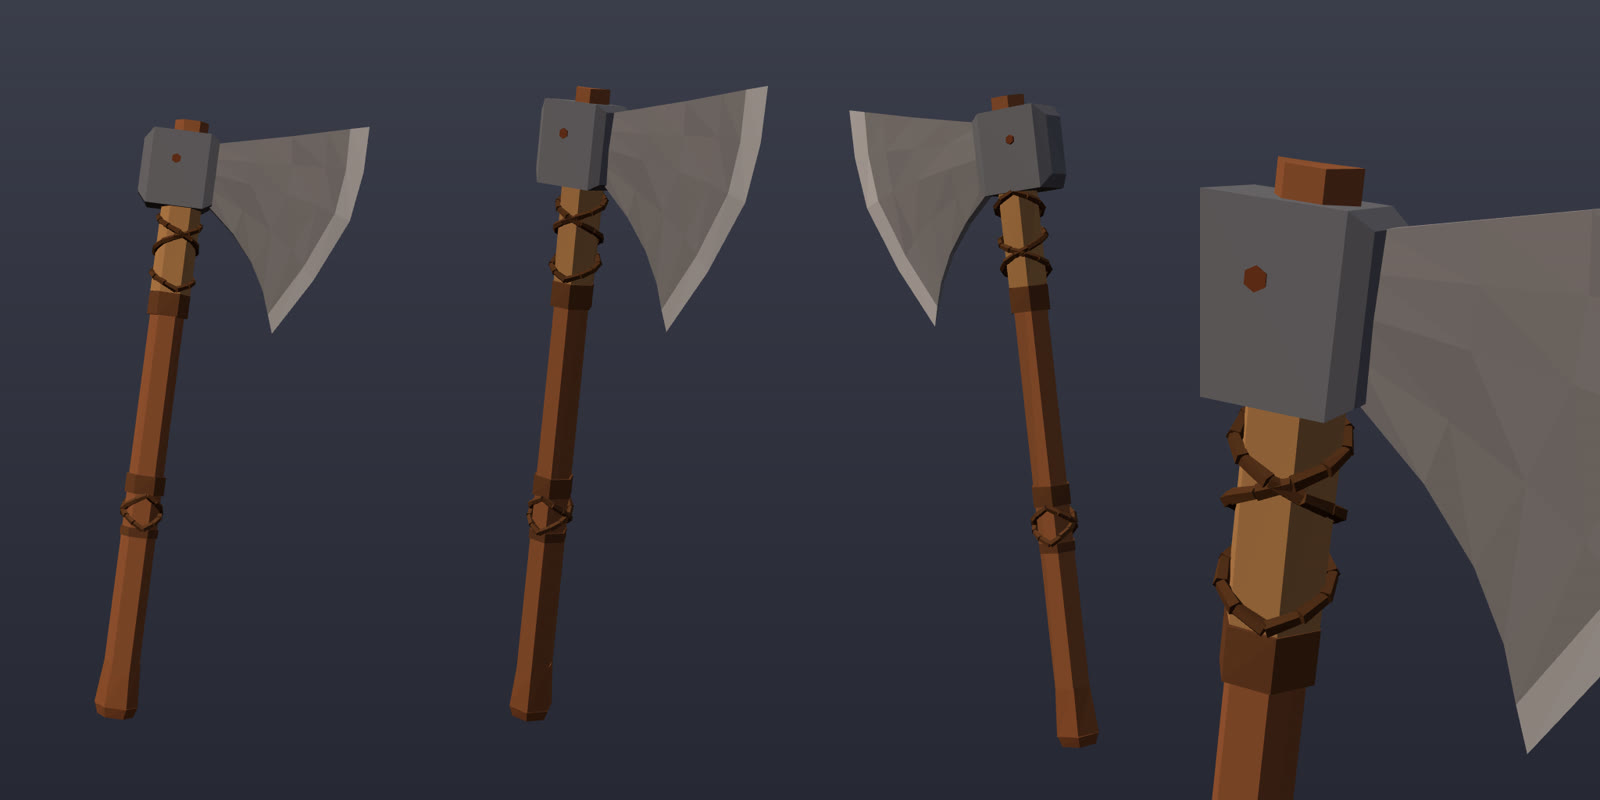
The top edge is not a ruler. On the sheet the blade's top edge dips by the eye and then sweeps up into a horn. With a few more points along it, it now curves instead of running straight.
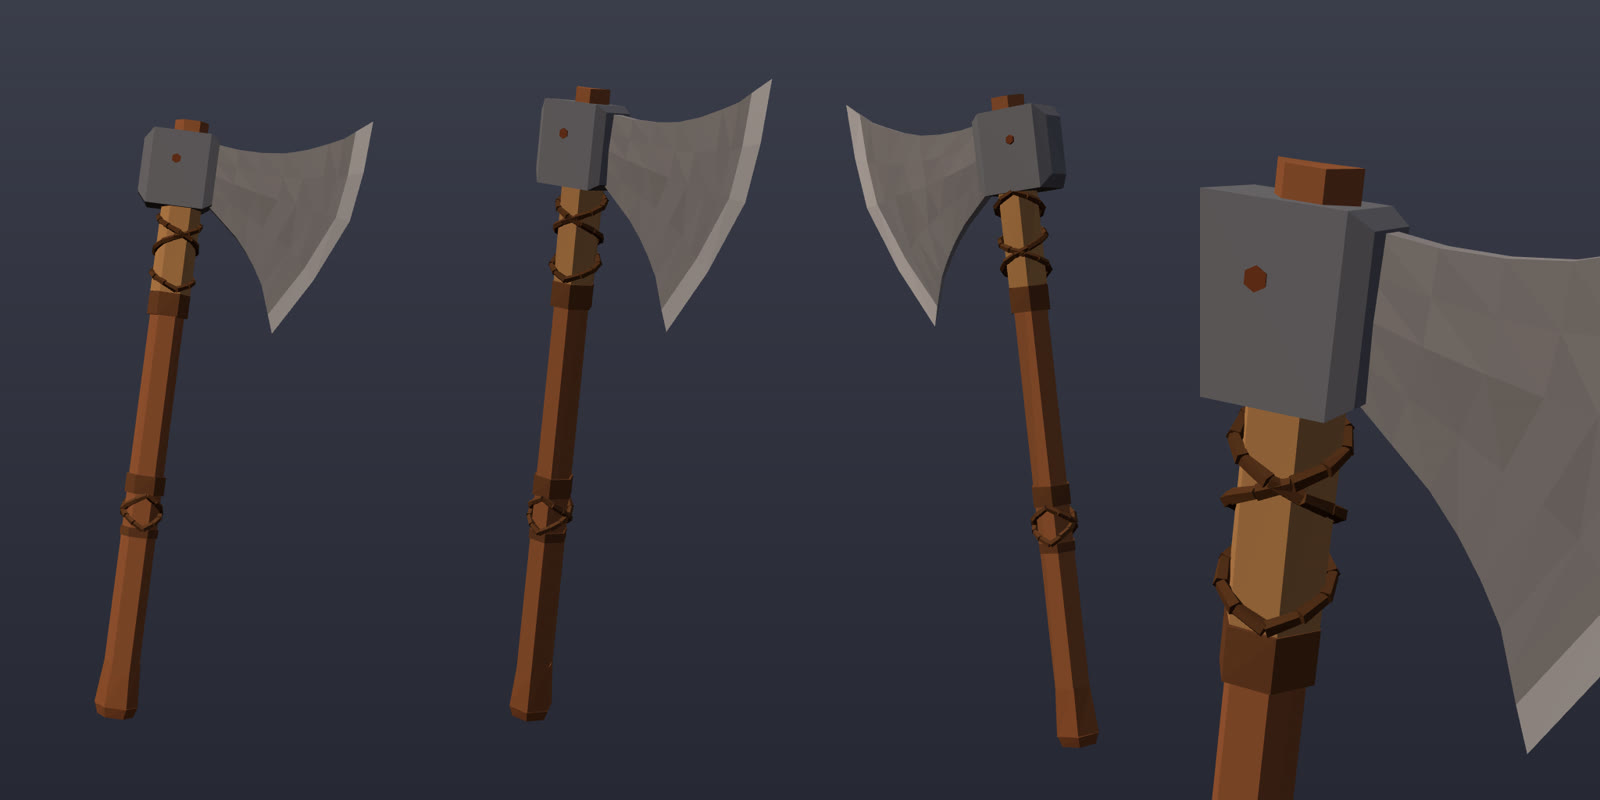
A wider bevel. The bright ground strip along the edge was too thin to read from a distance, so it now covers the last quarter of the blade.
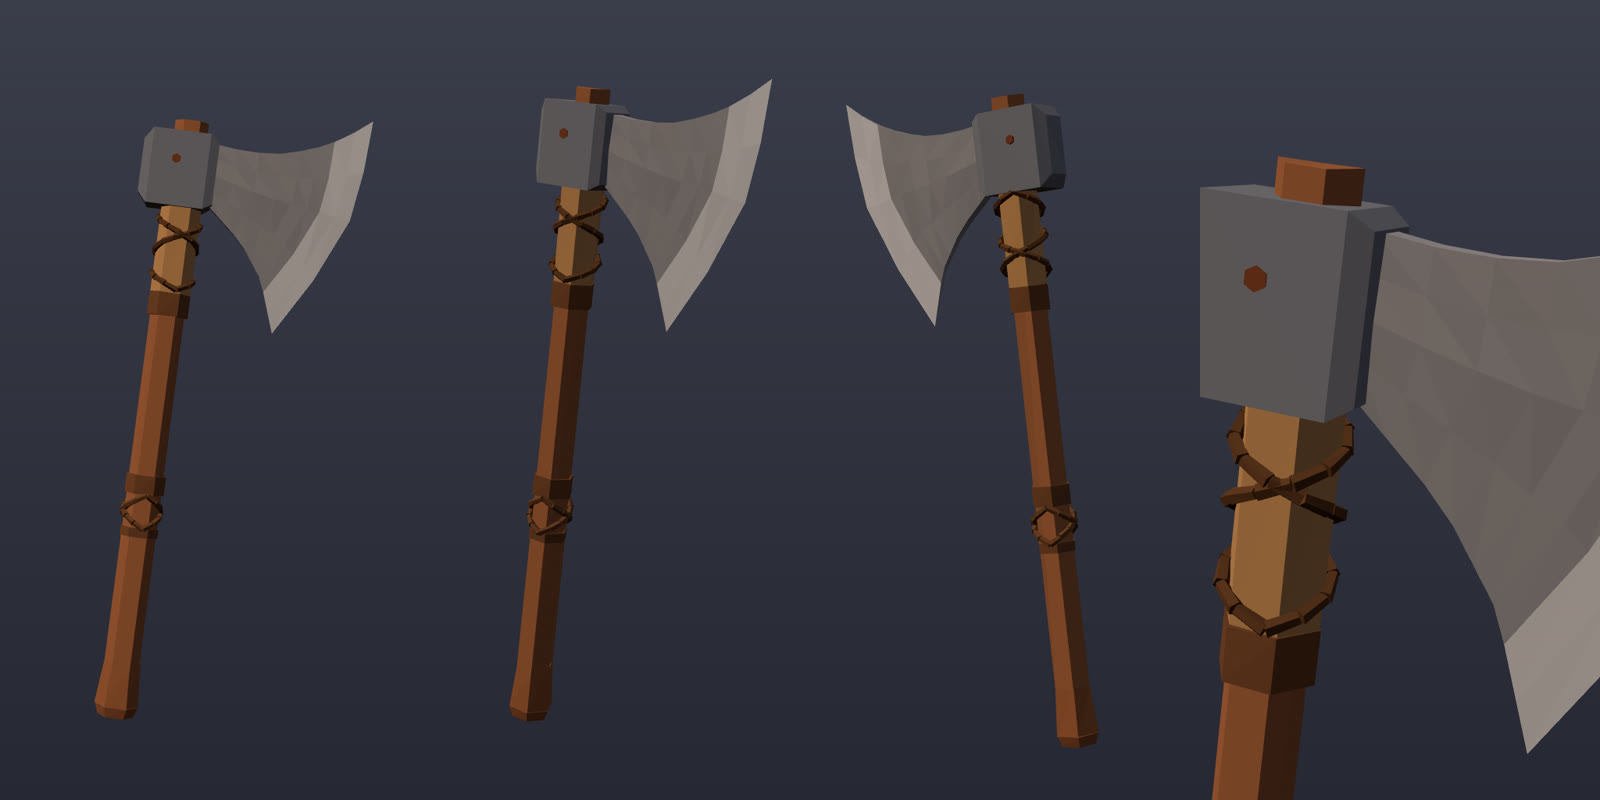
Measured, not guessed. The blade still looked like a fan. This time we enlarged the sheet, laid a grid over it, corrected for the tilt of the drawing and read eight points along each outline. The result has a short neck out of the poll, a beard that drops almost straight down to a sharp lower tip, and an edge that runs straight down before curving back. This was the biggest single improvement.
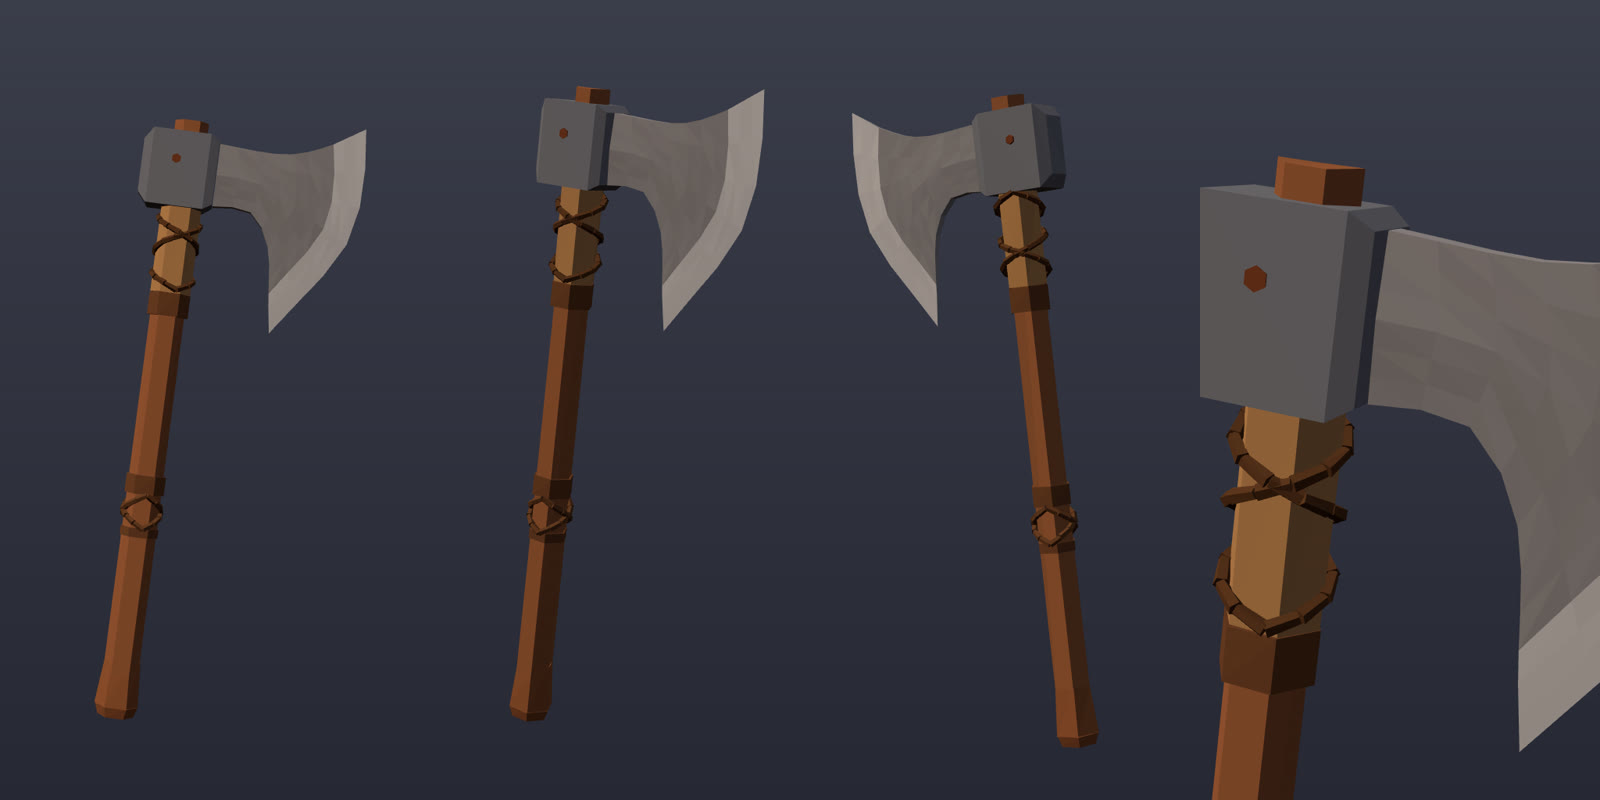
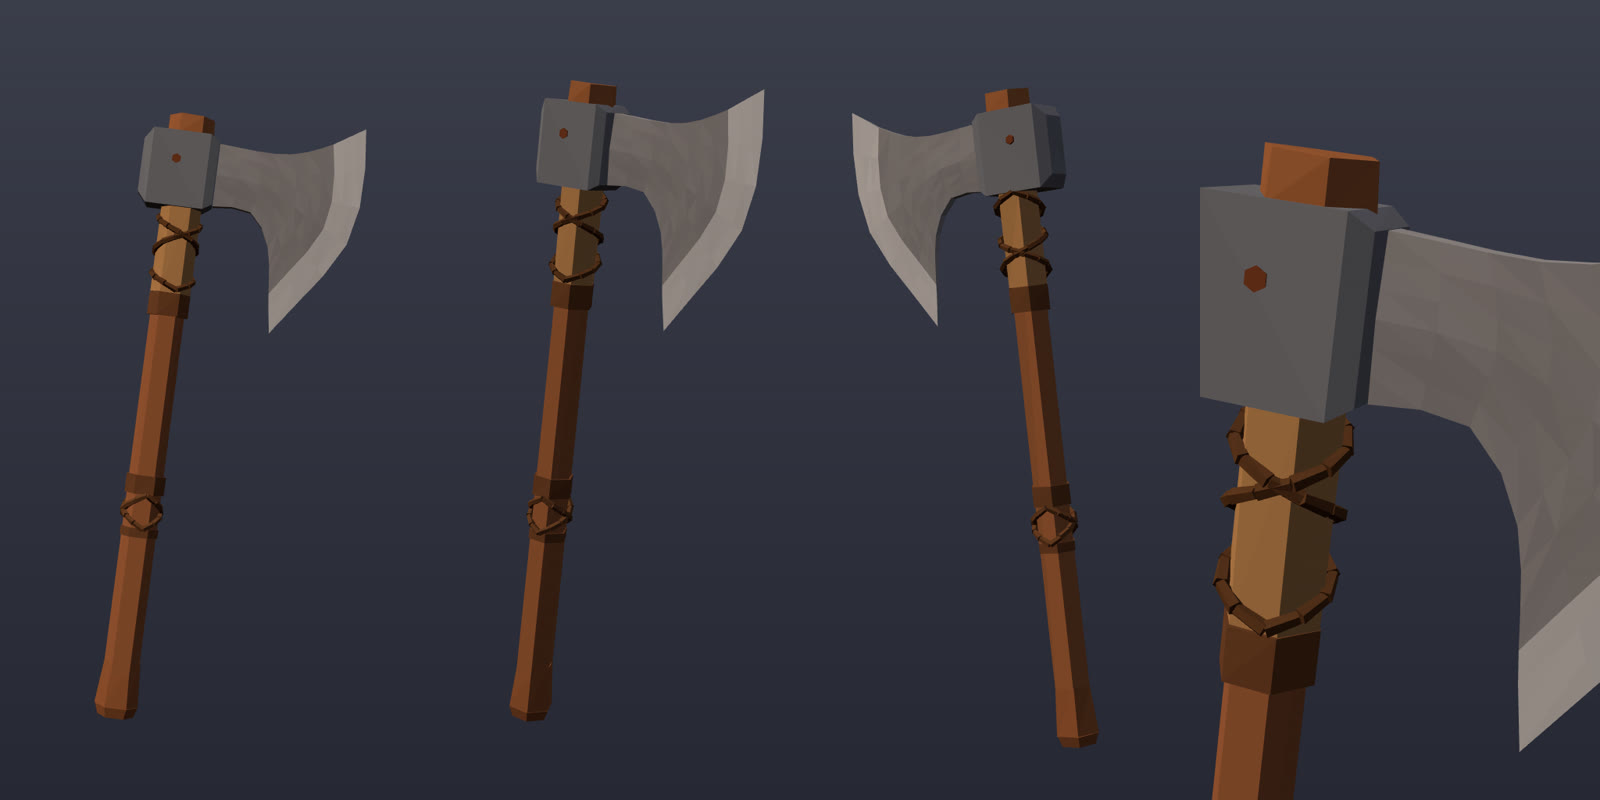
The handle's end. The wood that pokes above the head became thicker, like timber swollen around the wedge that holds the head.
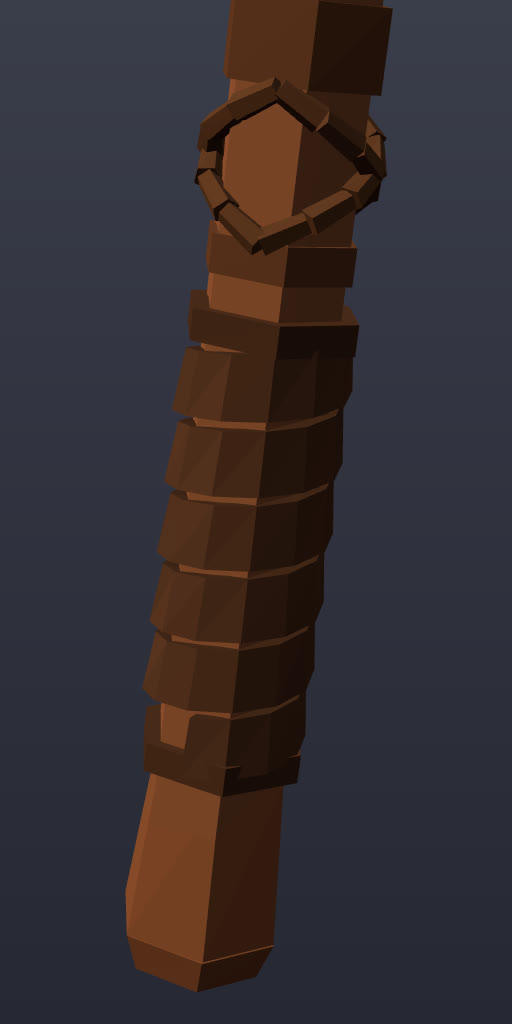
A wound grip. Last, a dark leather strap is wound up the lower handle. Each turn's lower edge overlaps the turn below, thin lines of wood show between the turns, and a band ties it off at each end.
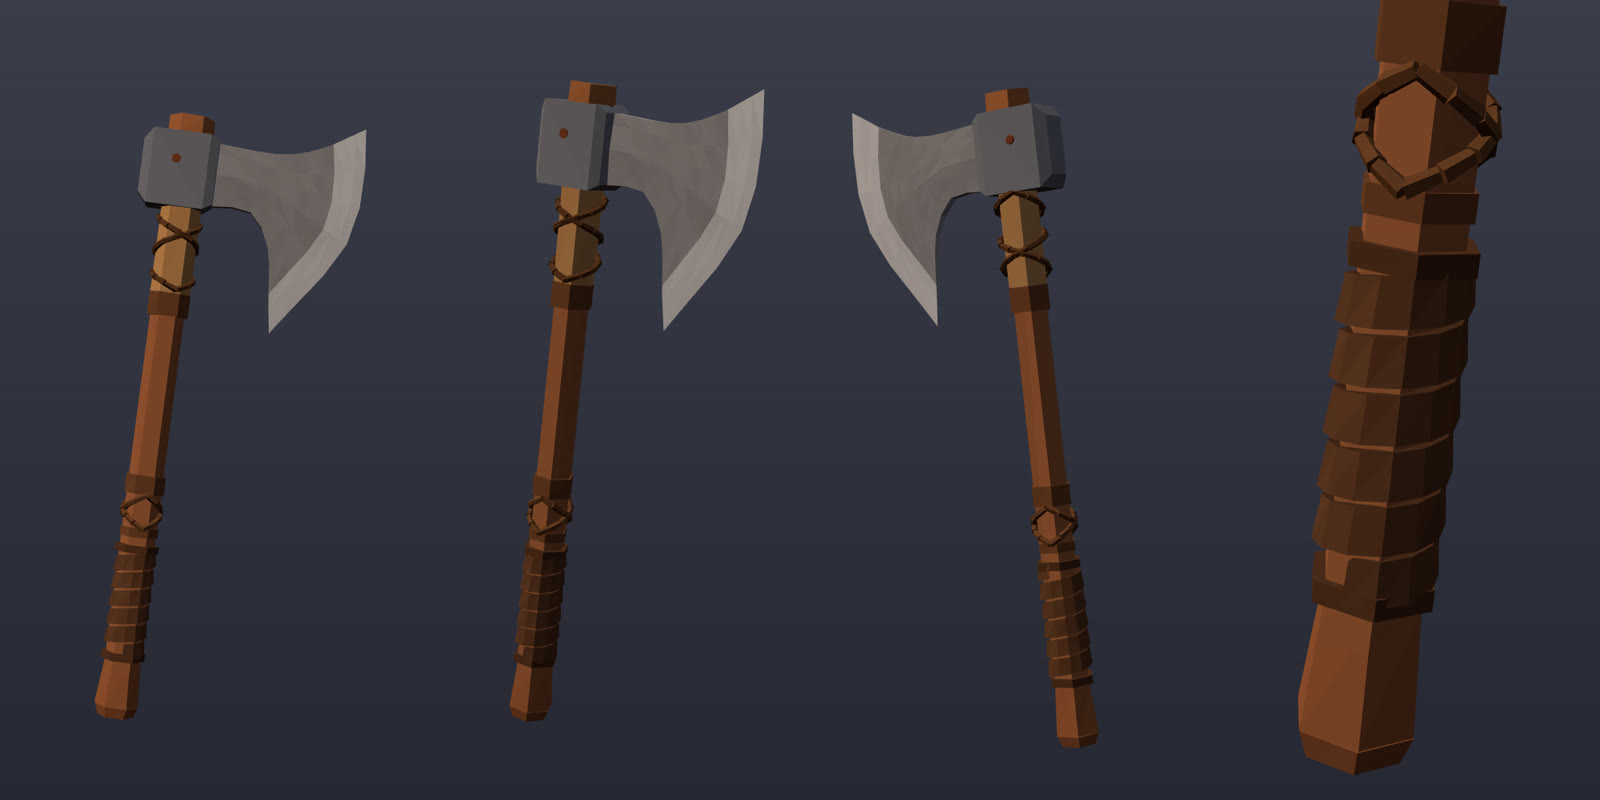
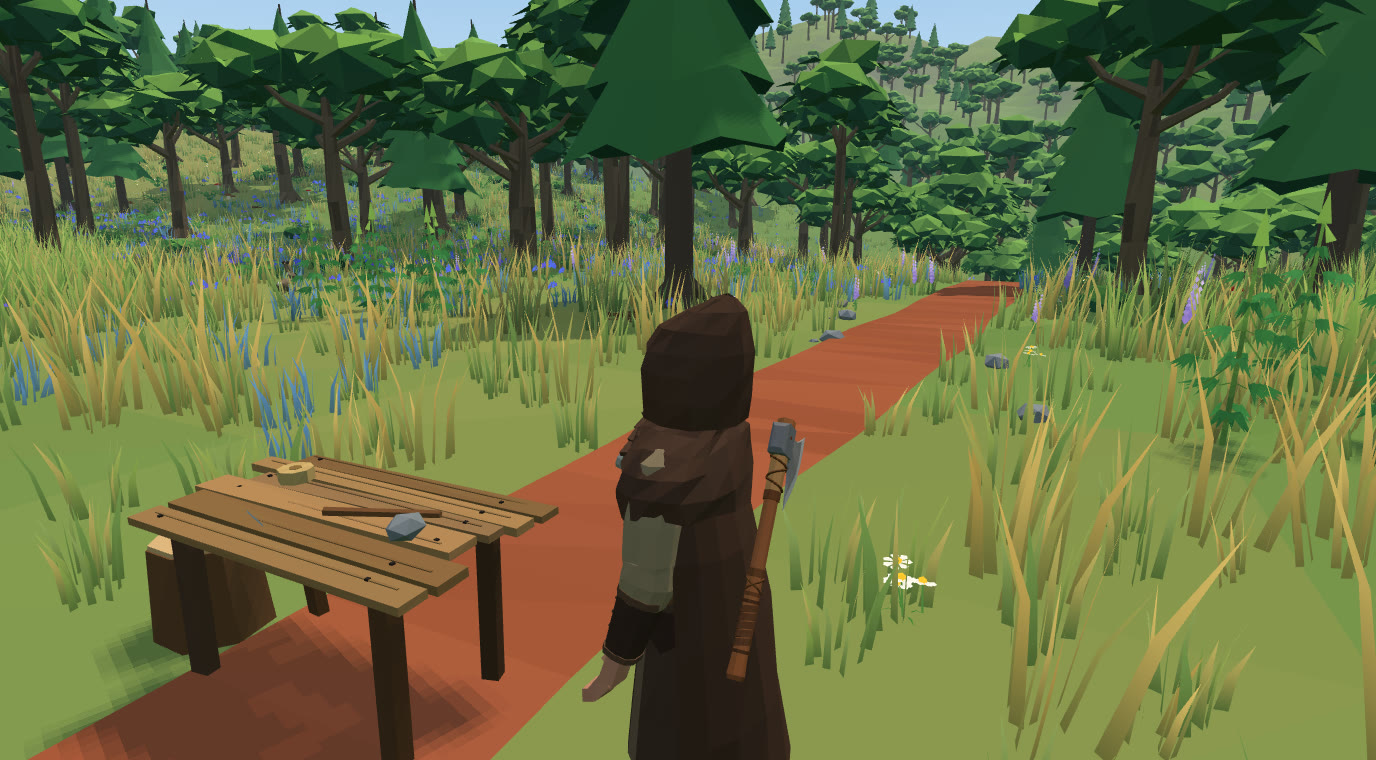
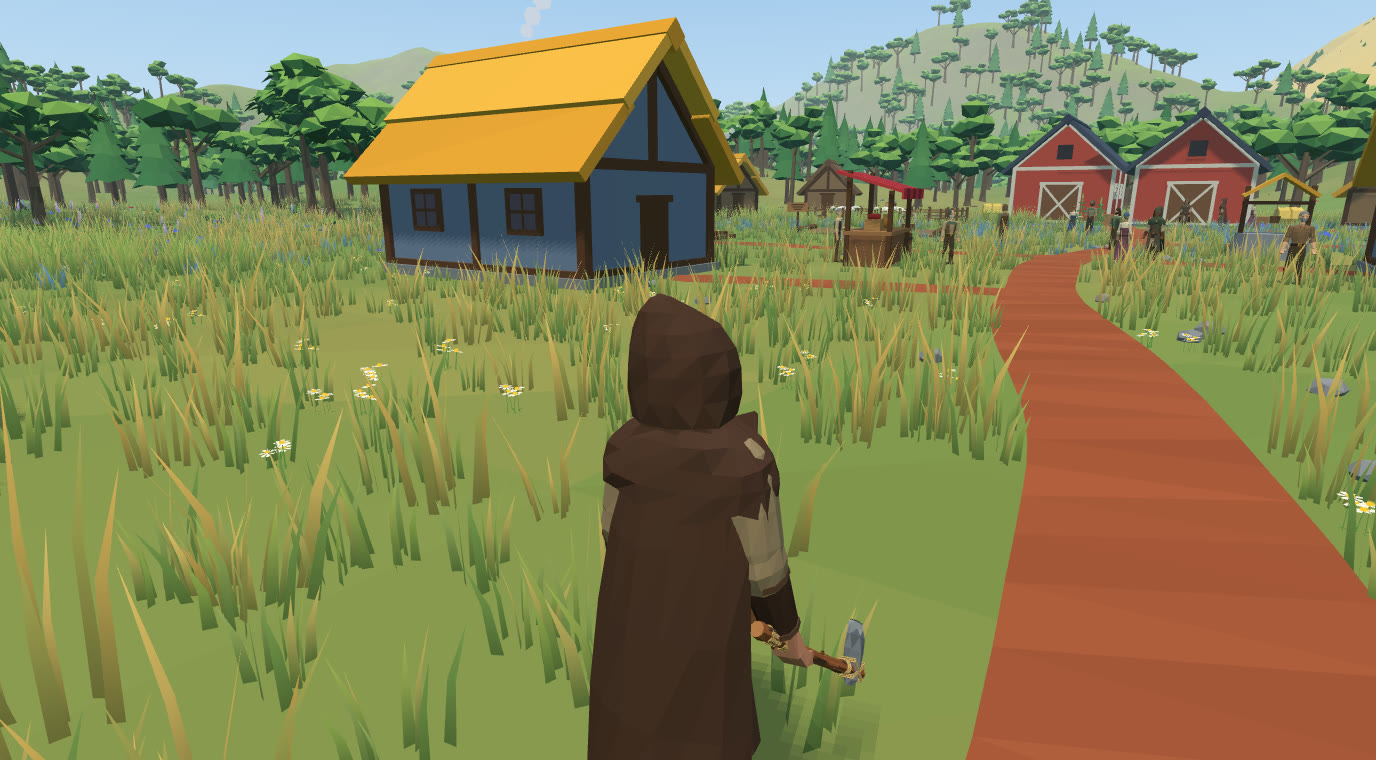
This axe replaced the heavy stone axe as the Iron axe. The recipe at the workbench and its strength stay the same.
The stone axe
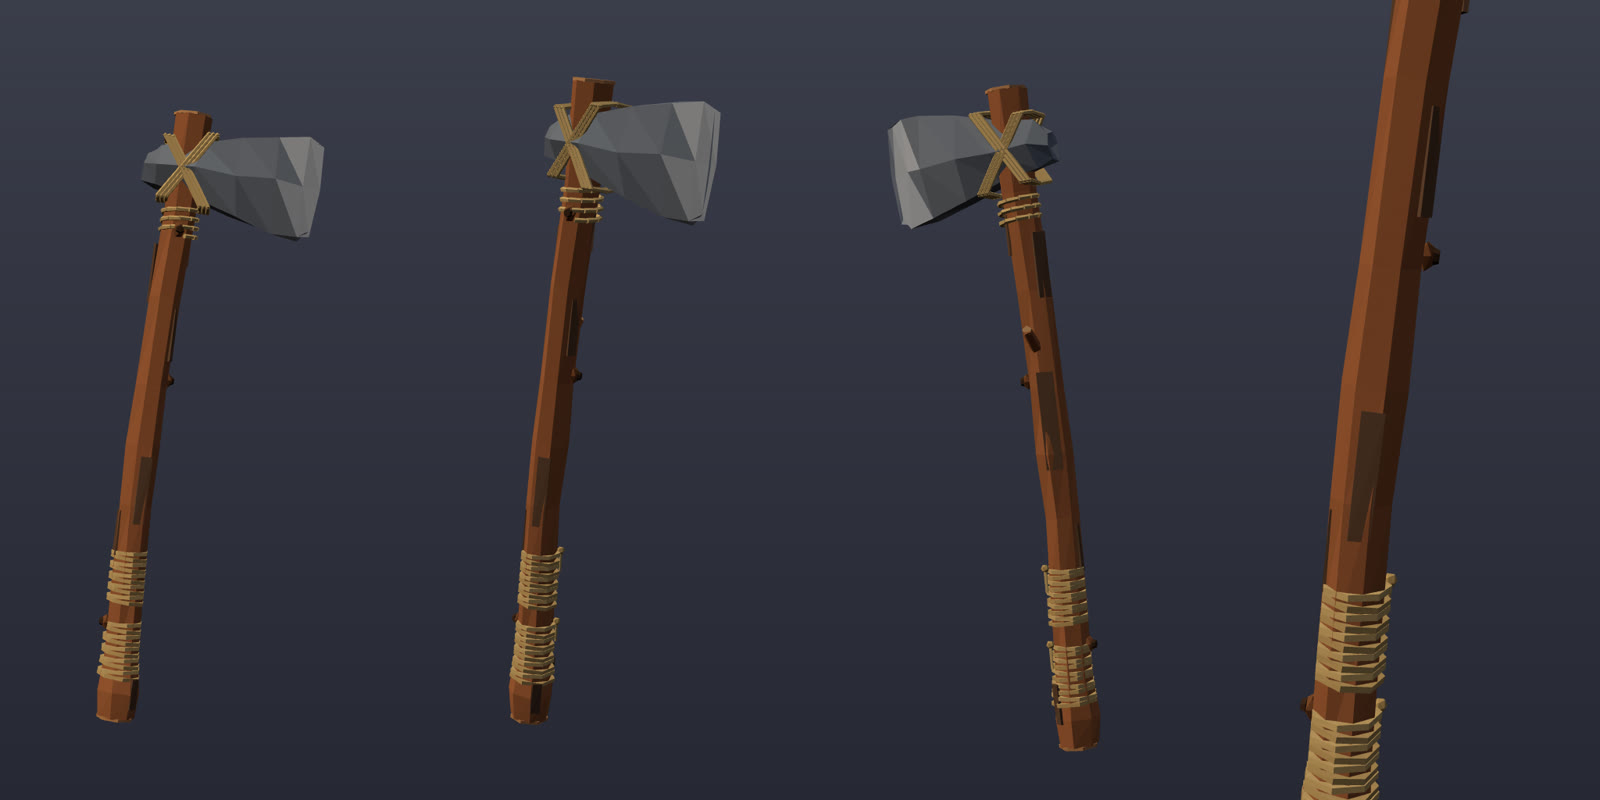
The first axe you make should look like it was made in a clearing. It has the same build, but instead of iron the head is a knapped stone wedge pushed through the handle and lashed on with twine.
First try. It had the right idea but looked like a brick on a stick, and the crossed twine stood out from the stone.
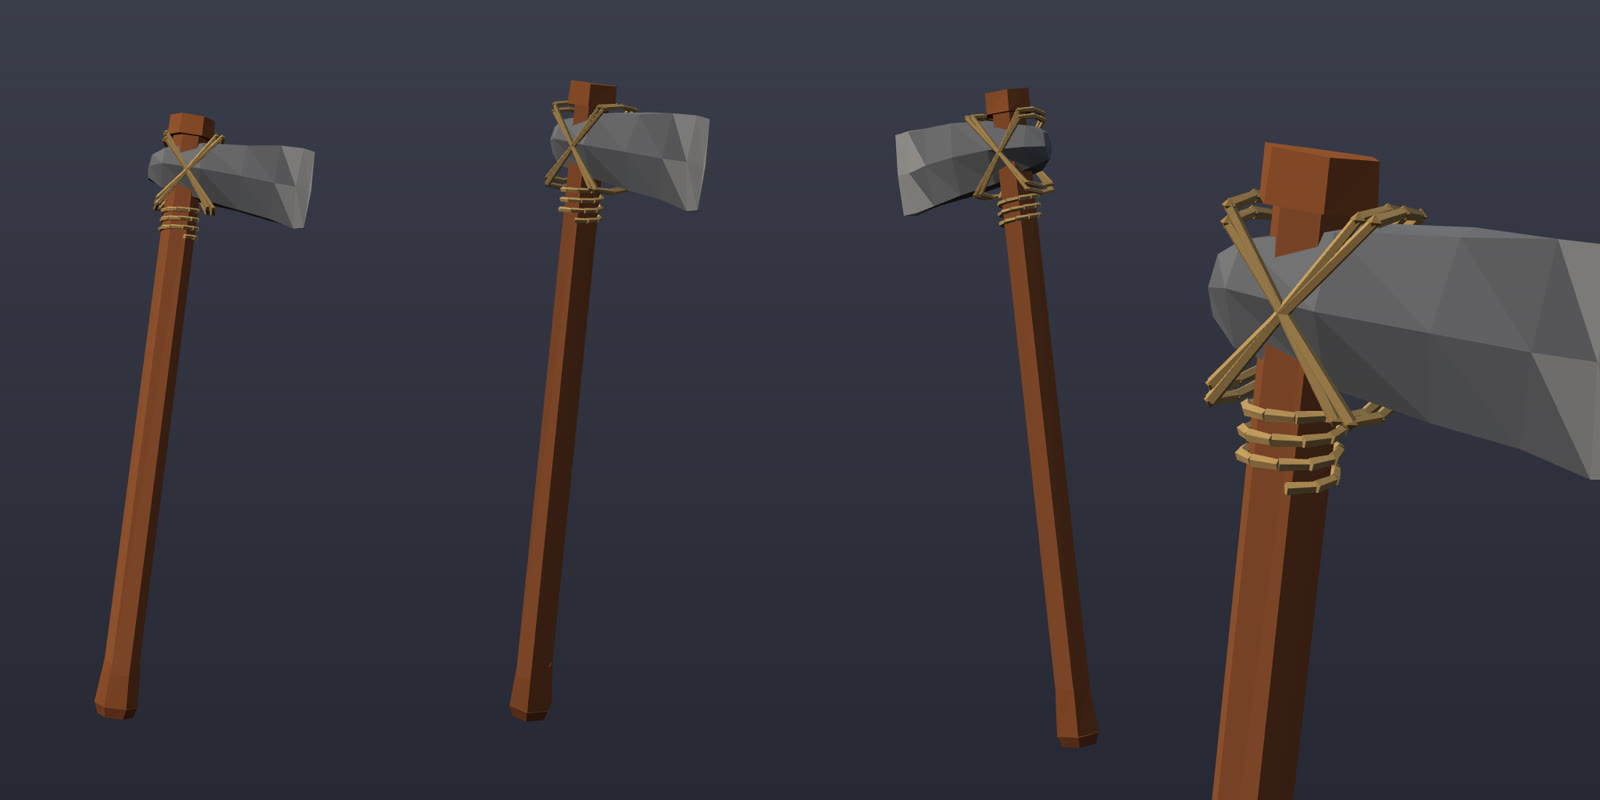
A bigger stone. The stone now fans out towards a rounded, paler ground edge. It has rougher knapped facets in several greys, and the twine lies tight against it in three strands per loop.
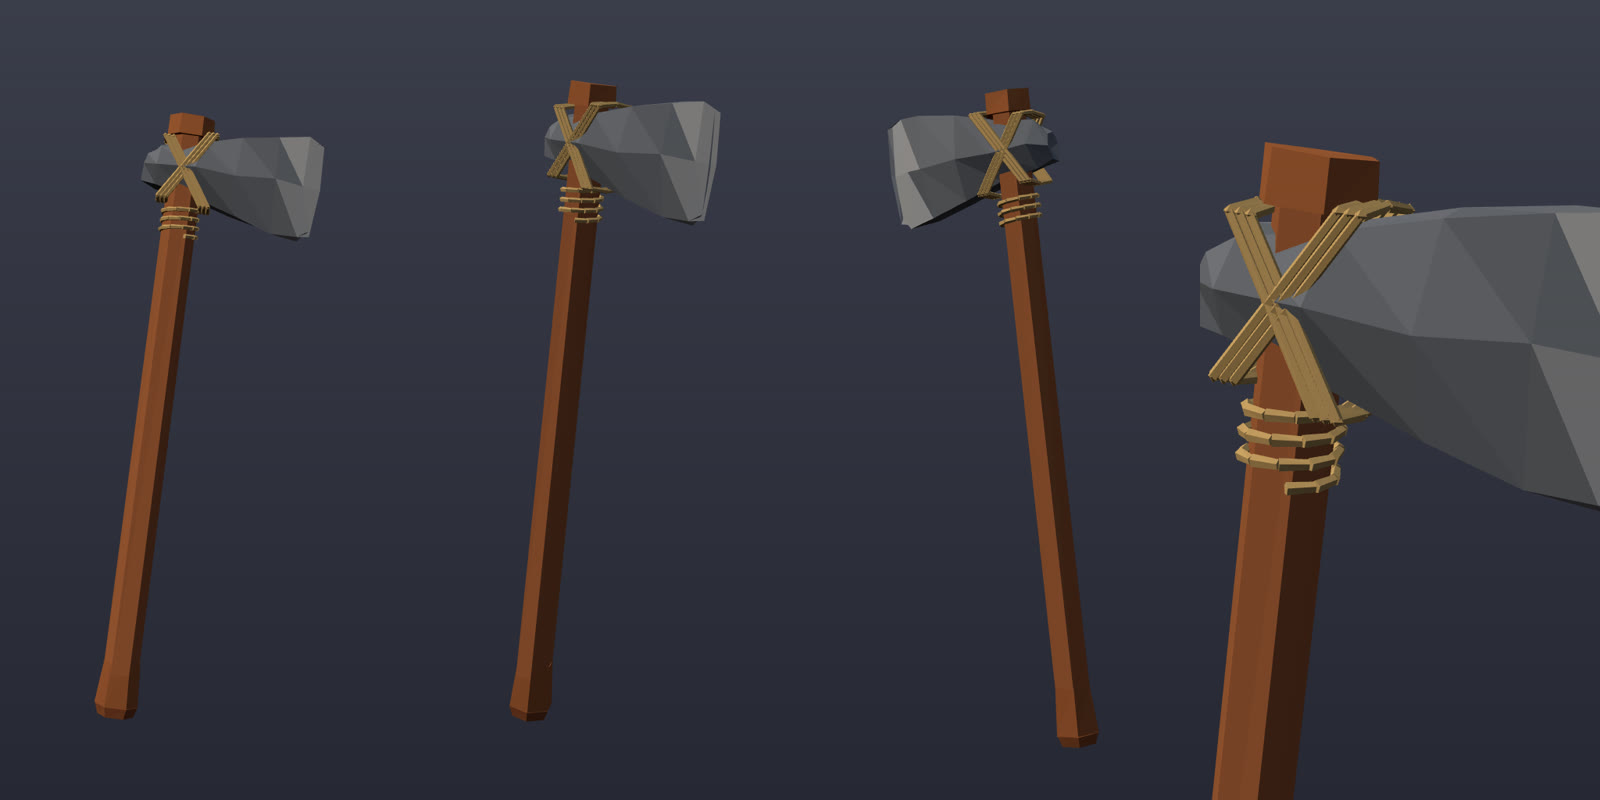
A branch, not a haft. The smooth handle was too plain for a stone tool. It is now a cut branch: a gentle bow, swelling at the knots, with strips of bark left on, two dark knots, a twig trimmed off short, pale cut ends, and twine bound round the grip in two bands with a loose end.
The spear, the hammer and the bow followed. They are in the next post, along with how this kind of work is done.